Resize EBS Volume on EC2 Instance
HOW TO RESIZE YOUR EBS VOLUME ON EC2 INSTANCE
If you need to resize your EC2 instance’s EBs volume that means you have already created the EC2 instance. To use the new volume size with your instance, you will need to resize the volume and extend the file system. Until you have extended the file system, the extra storage will remain unused.
Resize EBS Volume Attached to an EC2 Instance
To resize an EBS volume, first go to your EC2 dashboard. You will find volumes under Elastic Block Store in the left sidebar of the EC2 dashboard. Click on volumes and then from the list on the dashboard, you can check out the volumes you have created and the instance they are attached to as well as other information. Click on the volume you want to expand.
(Take a snapshot of your volume before making any changes in case you need to roll them back.)
Select the volume to be modified and then click ‘Modify’ on the top right. On the next page, select the new size for the volume. For example, you have a General Purpose SSD (gp2) volume and you want to expand its size.
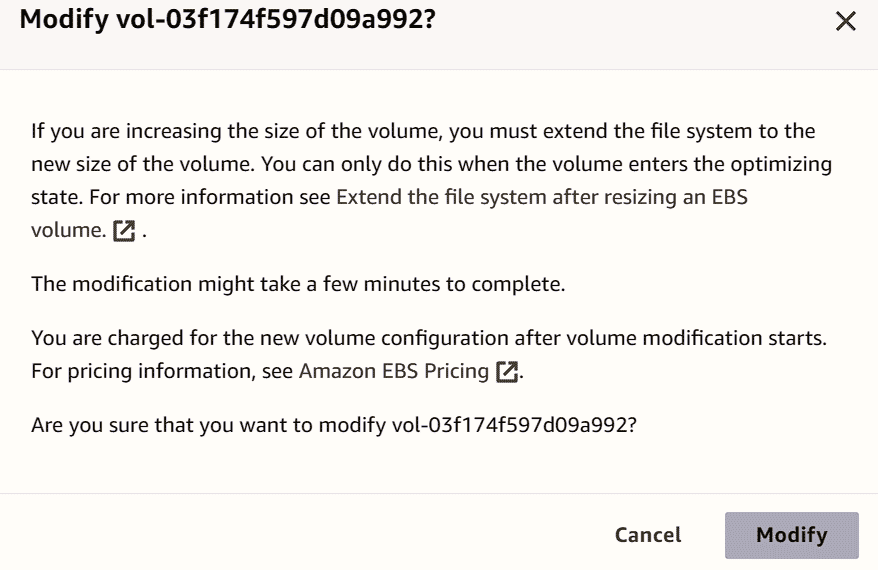
From the size box, select the new size. Suppose you had a 8gb volume and you want to expand its size to 50gb. Then use the arrows to select the new size. Click on the modify button at the bottom and then when prompted provide your confirmation to modify the volume size.
.png)
Volume modification may take a few minutes to complete. However, to use the new volume size, we will need to extend the file system which can be done when the volume has entered the optimizing stage. We will need to wait a few minutes.
If you go back to the volume dashboard and click on the volume being modified, you will see that the volume is in use and being modified as well as the percentage of modification already completed. You will also see the new increased size of the volume in the details.
Wait for the modification to complete and let the volume enter the optimizing stage or completed stage, following which we will extend the file system on Apache Ubuntu Server.
Extend File System for an EBS Volume
To extend the file system of a EBS volume, first connect to the concerned instance and run
ubuntu@ip-1xx-xx-xx-xx6:~$ sudo lsblk
NAME         MAJ:MIN RM  SIZE RO TYPE MOUNTPOINTS
loop1          7:1    0 55.7M  1 loop /snap/core18/2812
loop2          7:2    0   87M  1 loop /snap/lxd/27037
loop3          7:3    0 63.9M  1 loop /snap/core20/2182
loop4          7:4    0 40.4M  1 loop /snap/snapd/20671
loop5          7:5    0   87M  1 loop /snap/lxd/27948
loop6          7:6    0 39.1M  1 loop /snap/snapd/21184
loop7          7:7    0 63.9M  1 loop /snap/core20/2264
loop8          7:8    0 25.2M  1 loop /snap/amazon-ssm-agent/7993
loop9          7:9    0 25.2M  1 loop /snap/amazon-ssm-agent/7983
nvme0n1      259:0    0   50G  0 disk
├─nvme0n1p1  259:1    0  7.9G  0 part /
├─nvme0n1p14 259:2    0    4M  0 part
└─nvme0n1p15 259:3    0  106M  0 part /boot/efi
.png)
In the above example output, the root volume nvme0n1 has three partitions. The partition or nvme0n1p1 is smaller in size compared to the root volume. If the partition was the same size or there was no partition, you could stop here and go to the final step. However, the partition is smaller than the root volume, meaning it needs to be extended.
We have to extend a partition named p1 (partition 1), so we will use the following command:
sudo growpart /dev/nvme0n1 1
Its output will look like the following:
CHANGED: partition=1 start=227328 old: size=16549855 end=16777183 new: size=104630239 end=104857567
If you now check with the lsblk command, you will see the partition size is now roughly equal to the root volume as in the below example output:
$ sudo lsblk
NAME         MAJ:MIN RM  SIZE RO TYPE MOUNTPOINTS
loop1          7:1    0 55.7M  1 loop /snap/core18/2812
loop2          7:2    0   87M  1 loop /snap/lxd/27037
loop3          7:3    0 63.9M  1 loop /snap/core20/2182
loop4          7:4    0 40.4M  1 loop /snap/snapd/20671
loop5          7:5    0   87M  1 loop /snap/lxd/27948
loop6          7:6    0 39.1M  1 loop /snap/snapd/21184
loop7          7:7    0 63.9M  1 loop /snap/core20/2264
loop8          7:8    0 25.2M  1 loop /snap/amazon-ssm-agent/7993
loop9          7:9    0 25.2M  1 loop /snap/amazon-ssm-agent/7983
nvme0n1      259:0    0   50G  0 disk
├─nvme0n1p1  259:1    0 49.9G  0 part /
├─nvme0n1p14 259:2    0    4M  0 part
└─nvme0n1p15 259:3    0  106M  0 part /boot/efi
Now, we are closer to the final step which is to extend the file system. However, you first need to know the name, size, type, and mount point for the file system that you need to extend. To do that, run the following command and note the output:
df -hT
Sample Output:
.png)
Filesystem      Type      Size  Used Avail Use% Mounted on
/dev/root       ext4      7.6G  6.6G 1008M  87% /
tmpfs           tmpfs     951M     0  951M   0% /dev/shm
tmpfs           tmpfs     381M  912K  380M   1% /run
tmpfs           tmpfs     5.0M     0  5.0M   0% /run/lock
efivarfs        efivarfs  128K  3.6K  120K   3% /sys/firmware/efi/efivars
/dev/nvme0n1p15 vfat      105M  6.1M   99M   6% /boot/efi
tmpfs           tmpfs     191M  4.0K  191M   1% /run/user/1000
From the output, you can see that the file system type is ext4 and name /dev/root. It is sized 7.6G and is using 87% or 6.6G.
Now, there are two different commands. If your file system type is ext4, you will need to run the resizefs command and if its type was xfs, then you would need to run the xfs_growfs command.
Since, we have the ext4 file system type here, we will run the following command:
$ sudo resize2fs /dev/root
resize2fs 1.46.5 (30-Dec-2021)
Filesystem at /dev/root is mounted on /; on-line resizing required
old_desc_blocks = 1, new_desc_blocks = 7
The filesystem on /dev/root is now 13078779 (4k) blocks long.
.png)
You can see from the output that the filesystem on /dev/root has been extended. For an ext4 type file system, we specify the name of the file system but for xfs type, we specify the mountpoint and you can see in the previous output that the mountpoint is /. So, for xfs type filesystem, a command will look like:
sudo xfs_growfs -d /
So, this is how you can resize your instance volume on EC2. If you want, you can create a new volume and then attach it to an existing instance rather than resizing the existing volume. Creating a new volume is easy and you can just go to Volumes and click on create volume and once the volume is created select to attach the volume to an existing instance from the Action menu.
SUGGESTED READING
BILLING OPTIONS TO SAVE MORE ON EC2 INSTANCES
USE AMAZON CLOUDSEARCH IN WORDPRESS FOR A MORE POWERFUL SEARCH EXPERIENCE