Host Google Fonts Locally Wordpress
How to Speed Up Font Loading on Your Wordpress site (load from Google or Host Locally)
Google offers a vast collection of fonts including more than 1600 families. These font families cover more than 135 languages.
There are various methods to add Google fonts locally to your Wordpress site including the Google API method and the plugin method. You can also load Google fonts from the Google cdn which will offer quite fast loading time.
Apart from speed, another major factor that people prefer to localize Google fonts is because of the GDPR laws. Privacy and performance both are important reasons that people like to host Google fonts on their own server.
If you want to add Google fonts to your website, there are several options available including hosting locally and loading from cdn and we will discuss each of them in this tutorial.
Load Google Fonts from Google CDN
If you are planning to load Google fonts from Google CDN, the process is relatively easier. It is also the fastest option since Google has datacenters located across the globe throughout all the continents. So, the Google CDN can be the best option for you, if you have proper GDPR consent in place.
Go to the Google fonts website and search for the font family that you want to include on your website. For example, let’s check out the Roboto font family. The Roboto family includes Roboto (static) as well as variable fonts including Roboto Flex, Roboto Condensed, Roboto Mono, Roboto Slab and Roboto Serif.
You can select to use a static font or a variable font on your website. However, the variable fonts offer some advantages and are supported by all the modern web browsers.
A variable font is a single font file that acts as several fonts. All the variations including weight, style, slant and other attributes are included in a single highly compressed file.
You do not need to download several variations for different scenarios and every design is available in a single file.
It also means there is less data to download and superior loading speed. If you want to use variable fonts, you can specify the entire weight range you want to apply on your website such as:
font-weight: 100 800;
You can select to use either the static or variable fonts.
Best CDN Providers for Wordpress Websites
Load Static Fonts from Google CDN
Let’s first try the Roboto Static font.
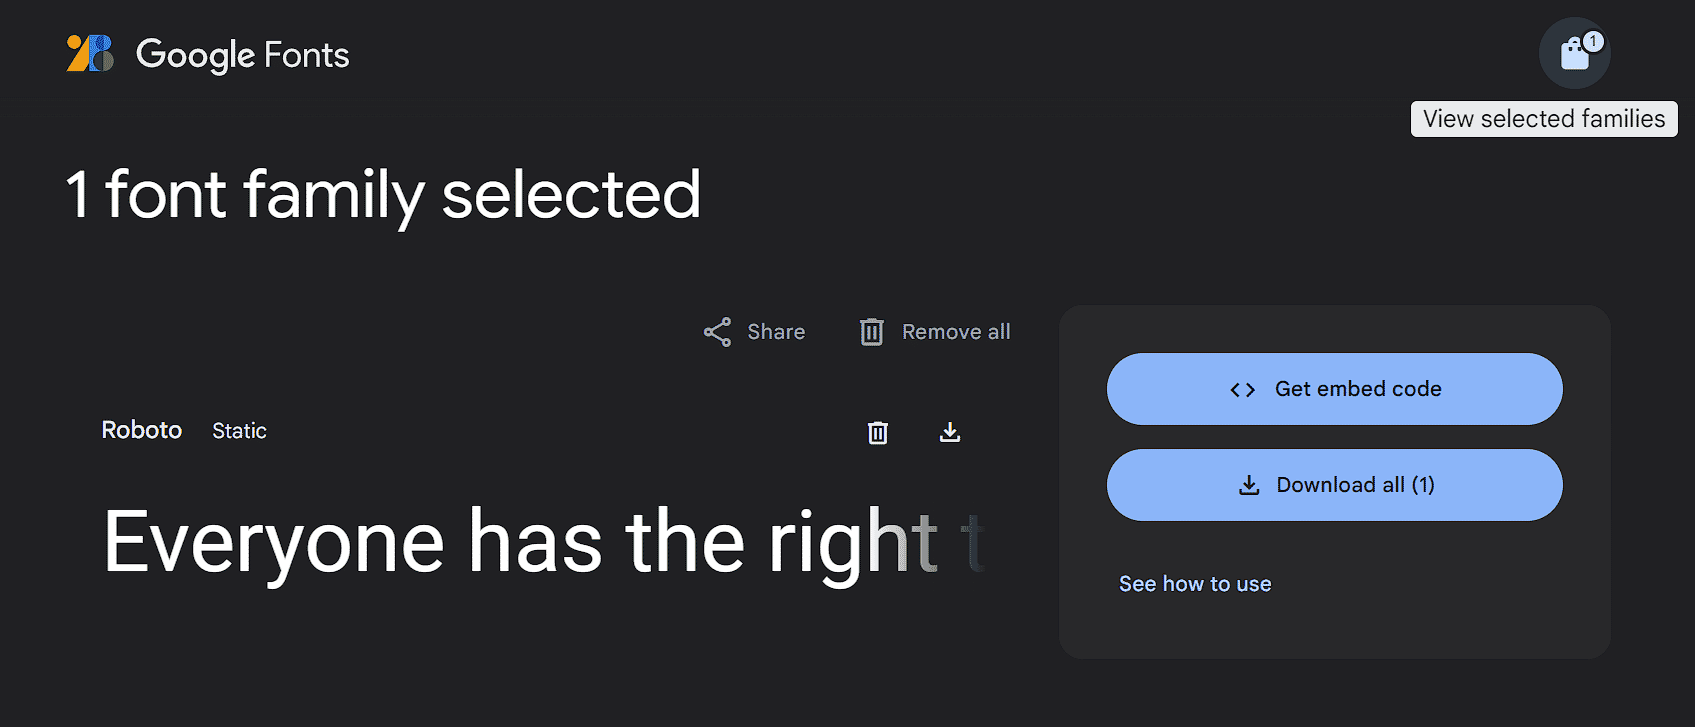
The Roboto family (static font) has 12 styles and you can select to use only the ones you need. So, click on Roboto and then click on get font. On this page, you must click on get embed code.
.png)
By default, it will include all the font styles in case of a status font.
However, you can remove the styles you do not need. For example, if you want to keep only the normal and bold styles, you can select to keep font weight 400 and 700 only. Click on change styles under the font heading and then select only the styles you need and toggle the rest off.
Now, you can copy the embed code:
.png)
<link rel="preconnect" href="https://fonts.googleapis.com">
<link rel="preconnect" href="https://fonts.gstatic.com" crossorigin>
<link href="https://fonts.googleapis.com/css2?family=Roboto:wght@400;700&display=swap" rel="stylesheet">
You can see that the script includes preconnect for the Google font urls and also includes the display swap property.
Now insert this code into the head of your website by either pasting it into the header.php of your wordpress theme or using a plugin like wp code lite to insert header code.
.png)
Copy the css classes provided by Google fonts (under the head script) and go to customizer -> additional CSS.
Paste this code there and then add the Roboto font family to the element for which you want to apply it.
body {font-family: "Roboto", sans-serif; font-weight: 400; font-style: normal;}

h1, h2 {font-family: "Roboto", sans-serif;
  font-weight: 700;
  font-style: normal; }
You will have fonts loading on your website from Google cdn.
Load Variable Google fonts from Google CDN
Variable fonts are considered to be better in terms of performance than the static fonts. The process of applying the variable fonts is also similar to the process we followed for applying the static fonts.
Go to the Google fonts website and select the variable font you want. For example, we will use Roboto condensed.
Now, copy the embed code for the variable font.
<link rel="preconnect" href="https://fonts.googleapis.com">
<link rel="preconnect" href="https://fonts.gstatic.com" crossorigin>
<link href="https://fonts.googleapis.com/css2?family=Roboto+Condensed:ital,wght@0,100..900;1,100..900&display=swap" rel="stylesheet">
As you can see all the varieties from weight 100 to 900 and italic styles are included in the same file here and display swap property has also been applied to the same.
Now, it is time to add it to your website header. You can add the script to the website header in the theme’s header.php file or using a plugin like insert header and footer code plugin.
Once you have inserted the code to the header, it is time to add the css to your website. Go to the customizer and then additional css and add the following css for the element to which you want to apply the font.
For example, we want to apply it to the body:
{
  font-family: "Roboto Condensed", sans-serif;
  font-optical-sizing: auto;
  font-weight: 100 900;
  font-style: normal;
}
Instead of specifying a single weight, we have specified a weight range that includes every font size included in the file. That’s all. Now, you can experience fast loading Google fonts on your website.
Apply Google fonts to your website using Bunny CDN
You can also apply the Google fonts for free using Bunny CDN. Another benefit of using Bunny CDN for adding fonts is that you do not need to be concerned about privacy which means Bunny CDN allows you to add the google fonts to your website but without the tracking. So, you do not have to be concerned for your visitors’ privacy. Bunny CDN fonts are hosted in Europe. There is zero logging and the fonts are fully GDPr compliant. Go to the Bunny CDN fonts website. Now, search for the font that you want to use on your website. We search for Roboto Condensed and then add only the styles we need. For example, we selected only Normal 300, 400 and 700 for our use.
.png) Add Free Bunny Fonts
Add Free Bunny Fonts
Click on the add fonts sign on the right at the top and then on switch to html. First copy the html header code and add it to your website’s header.
<link rel="preconnect" href="https://fonts.bunny.net">
<link href="https://fonts.bunny.net/css?family=roboto-condensed:300,400,700" rel="stylesheet" />
Now, add the font-family to your website with additional css.
body {font-family: 'Roboto Condensed', sans-serif;}
Now, you can load fonts of your choice very fast through Bunny CDN.
Self Host Google Fonts
A large number of people now prefer to host Google fonts locally for their websites and apps since it helps them avoid GDPR related issues. Apart from speed, it also offers privacy related benefits.
While loading fonts from Google CDN can be faster, there is no significant difference in speed when you load them from your own server.
You can upload the fonts to your own server and if you want to avoid the technical work, then just use a plugin if you are on Wordpress.
Self Host Google Fonts on your Server (Static Fonts)
We will again have to go to the Google fonts website to get the fonts of our choice. Search for the font you want such as Roboto and then click on get font.
.png)
Now, instead of getting embed code, click on the download button to download the family you selected.
This will download the font family in the form of a zip file to your computer.
The files that you have downloaded are in the TTF format. When you open the zip folder, you will see that there are several files included in it. For example, we downloaded Roboto Static and there are 12 files included in this zip file.
Go to Cloud Convert where you can convert these TTF files to woff2 format. Upload the two files that you need to be converted and download the woff2 files.
Otherwise, you can use the Google Webfonts helper website to directly get the woff2 files of your choice.
Go to Google WebFonts helper and search for the font family you need. Select only latin for charsets and add the font weights you need. For example, we downloaded the Roboto font 400 and 700. Then download the zip file it provides. You will see that there are only two files in WOFF2 format in this zip file (only the font weight we selected).
We can upload this file to the server using FTP. Use Cyberduck or Filezilla to access the root folder of your website. Upload the two files to the fonts folder inside your root folder.
Otherwise, you can create a fonts folder inside the wp-content folder and upload the woff2 files there.
Whichever path you choose, you will need to mention it inside the website css. Add the following css to additional CSS inside the customizer.
@font-face {
  font-display: swap;
  font-family: 'Roboto';
  font-style: normal;
  font-weight: 400;
  src: url('../fonts/roboto-v30-latin-regular.woff2') format('woff2');
}

@font-face {
  font-display: swap;
font-family: 'Roboto';
  font-style: normal;
  font-weight: 700;
  src: url('../fonts/roboto-v30-latin-700.woff2') format('woff2');
}

p {font-family: Roboto; font-weight: 400;}
Done. You are now loading fonts from your own server.
Self Host Google Fonts on Your Server (Variable Fonts)
The variable fonts are also available in Static versions and if you want, you can use the static versions of the same. For example, you can download the Robot Condensed variable font from Google fonts website or its static version from the Google Webfonts helper.
In the current scenario, we are going to download and apply the variable fonts Roboto condensed. Go to the Google fonts website and select Roboto Condensed. Now, download it to your computer.
.png)
If you open the zip file, you will see that there is a static folder inside that includes several weights of the same font. However, outside the static folder, there are two files that include all the variations including normal and italic in different weights.
These two variable font files, which are available in TTF format, can be applied to cover all the variations of Roboto Condensed font.
We will first need to convert them from TTF format to WOFF2 format. Go to Cloud Convert and convert these files to the Woff2 format.
Download the converted files and upload them to your server using FTP. However, first create a fonts folder. We have created a fonts folder in the wp-content folder to store font files.
If the variable font files you have downloaded have a complicated name, you can rename them such as: roboto-condensed-variable.woff2 and roboto-condensed-italic.woff2.
.png)
After uploading the files to the server, it is time to add the necessary css.
First, we will declare the @font-face rule.
@font-face {
font-family: 'Roboto Condensed';
src: url('https://example.com/wp-content/fonts/roboto-condensed-variable.woff2') format('woff2 supports variations');
 url(https://example.com/wp-content/fonts/roboto-condensed-variable.woff2)format(‘woff2-variations’);
font-weight: 100 900;
}
Do the same for the second file as well but only if you need the italicized fonts too. Now, apply the fonts to your html elements.
p {
  font-family: "Roboto Condensed", sans-serif;
  font-optical-sizing: auto;
  font-weight: 100 900;
  font-style: normal;
}
You have successfully uploaded the variable fonts to your website. Enjoy faster loading times.
Use a Plugin to Self-Host Google Fonts
You can also use a plugin if you are using Wordpress to self host Google fonts. Wordpress offers several plugins to include Google fonts locally in Wordpress.
However, the best one among them is the OMGF plugin.
You can use the OMGF plugin to host Google fonts locally. Just install and activate the plugin like you install any plugin from the Wordpress repository. Using the free version of this plugin, you can replace the Google fonts being loaded on your website with your locally hosted fonts. For example, if your theme is loading the Roboto font, the OMGF plugin will automatically discover the font and include it to its list. You can select the weights you want to host locally.
.png)
After installing OMGF, Go to local fonts and then mark the font weight you want to host locally. Click on save and optimize.
You will find your site loading faster since OMGF font is now hosting these fonts locally. That’s all you need to do if you are using the OMGF plugin to self host Google fonts and improve site speed. However, you can also set fallback font options in the OMGF plugin settings.
Conclusion:
Self-hosting Google fonts is the best option for website owners that want to improve website speed and performance as well as remain free from privacy and GDPR related concerns. You can host Google fonts locally by uploading them to the server or by using a plugin in Wordpress.
If you want to avoid using a plugin to achieve this, you must download the relevant font from the Google fonts website and upload it to the server. Then, you can apply it to html elements on your website by declaring a font face rule and setting the desired font family. All you need to do this is to know how to use a SFTP client and how to add additional CSS to your website.
You can also use the Google fonts API to load Google fonts via Google CDN. However, it will not address the GDPR and privacy related issues. To handle that, you need to host the fonts on your server or use the right plugin.
Another great option before you is to use the Bunny Fonts for loading Google fonts on your website. Bunny hosts these files in the European region and there is no logging so you are free from GDPR related concerns when using Bunny fonts and it is also free to use.
For additional benefits, we suggest using the variable fonts which provide more in less and can be easily applied to your website. Please note that whether static or variable fonts, you will need to convert them to a modern format (woff2) before applying them to your website. The Google Webfonts helper is also a great tool that will help you download ready files that can be directly uploaded to the server.
Suggested